> ## Documentation Index
> Fetch the complete documentation index at: https://docs.qtap.qa/llms.txt
> Use this file to discover all available pages before exploring further.
# Onboarding Wizard Walkthrough
> What the eight-step setup wizard does when you first log into your Qtap account.
The onboarding wizard runs once, the first time you log in. It collects your business details, sets up your first location, locks in your loyalty program type, and starts your 14-day free trial. After the final step, you go straight to the stamp card or points program builder.
The browser back button moves you one step backward in the wizard instead of leaving it. You can go back and change any answer before the payment step.
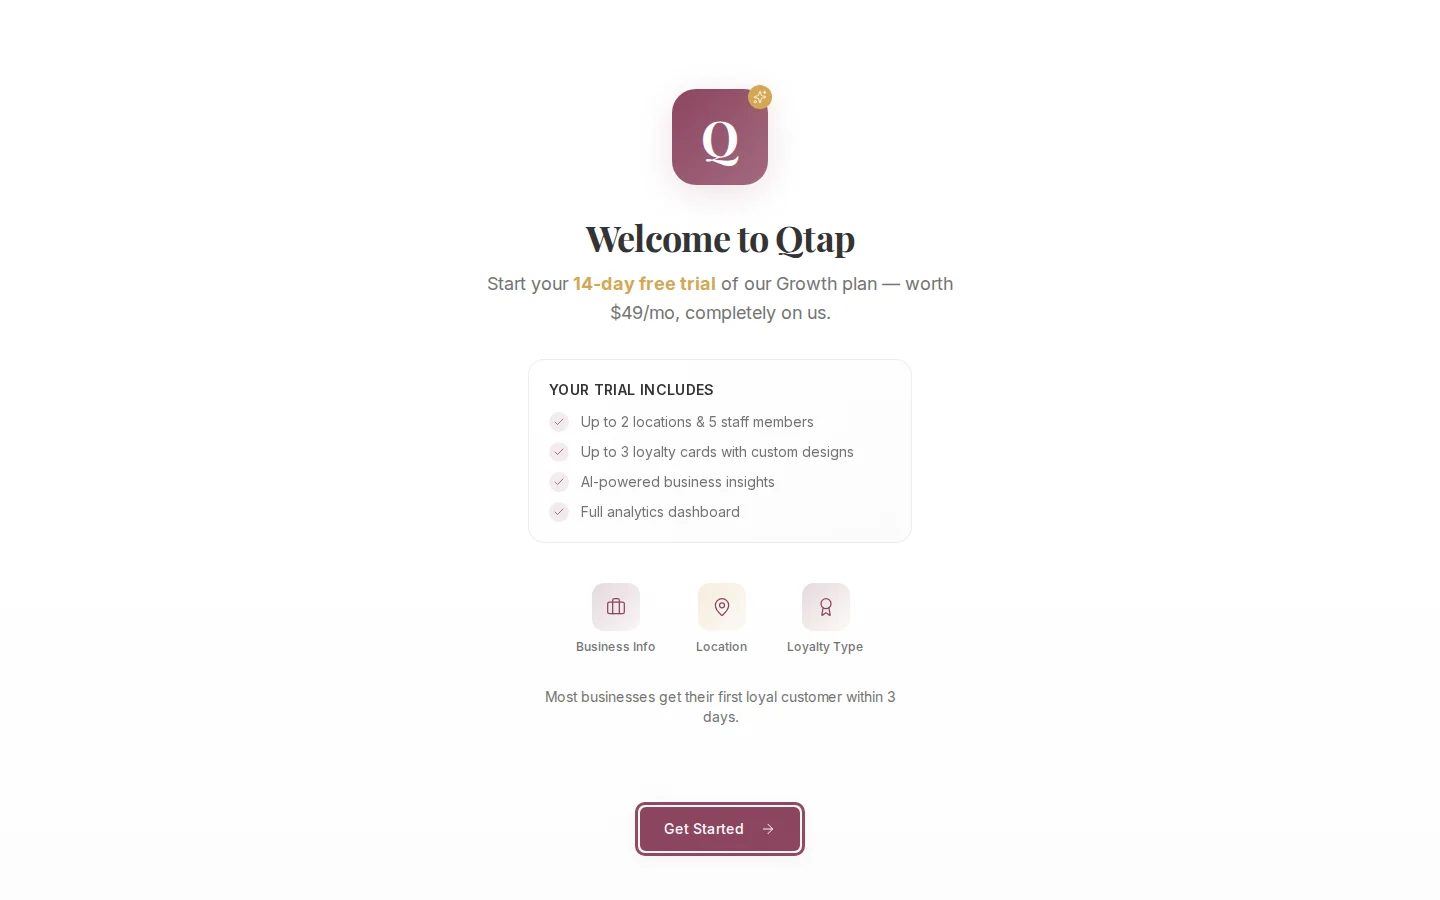
 The first screen shows what your free trial includes: up to 2 locations and 5 staff members, up to 3 loyalty cards with custom designs, AI-powered business insights, and the full analytics dashboard. This is the Growth plan (\$49/month) at no charge for 14 days.
Click **Get Started** to begin.
The first screen shows what your free trial includes: up to 2 locations and 5 staff members, up to 3 loyalty cards with custom designs, AI-powered business insights, and the full analytics dashboard. This is the Growth plan (\$49/month) at no charge for 14 days.
Click **Get Started** to begin.
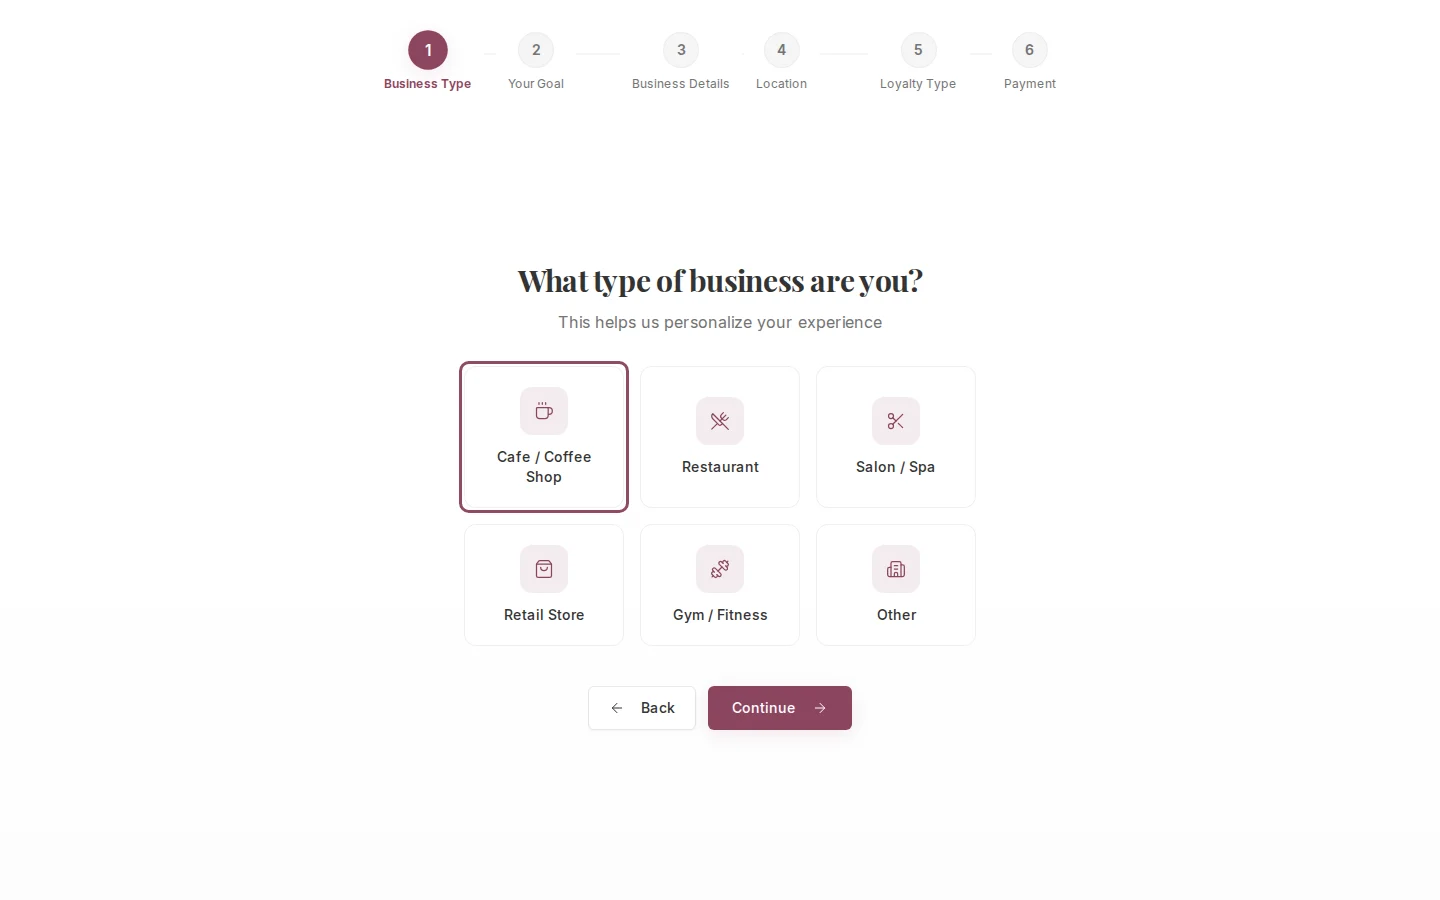
 Choose the category that fits your business: **Cafe / Coffee Shop**, **Restaurant**, **Salon / Spa**, **Retail Store**, **Gym / Fitness**, or **Other**.
Qtap uses this to personalize suggestions and the tips shown in your analytics. It does not affect which features you can access.
Choose the category that fits your business: **Cafe / Coffee Shop**, **Restaurant**, **Salon / Spa**, **Retail Store**, **Gym / Fitness**, or **Other**.
Qtap uses this to personalize suggestions and the tips shown in your analytics. It does not affect which features you can access.
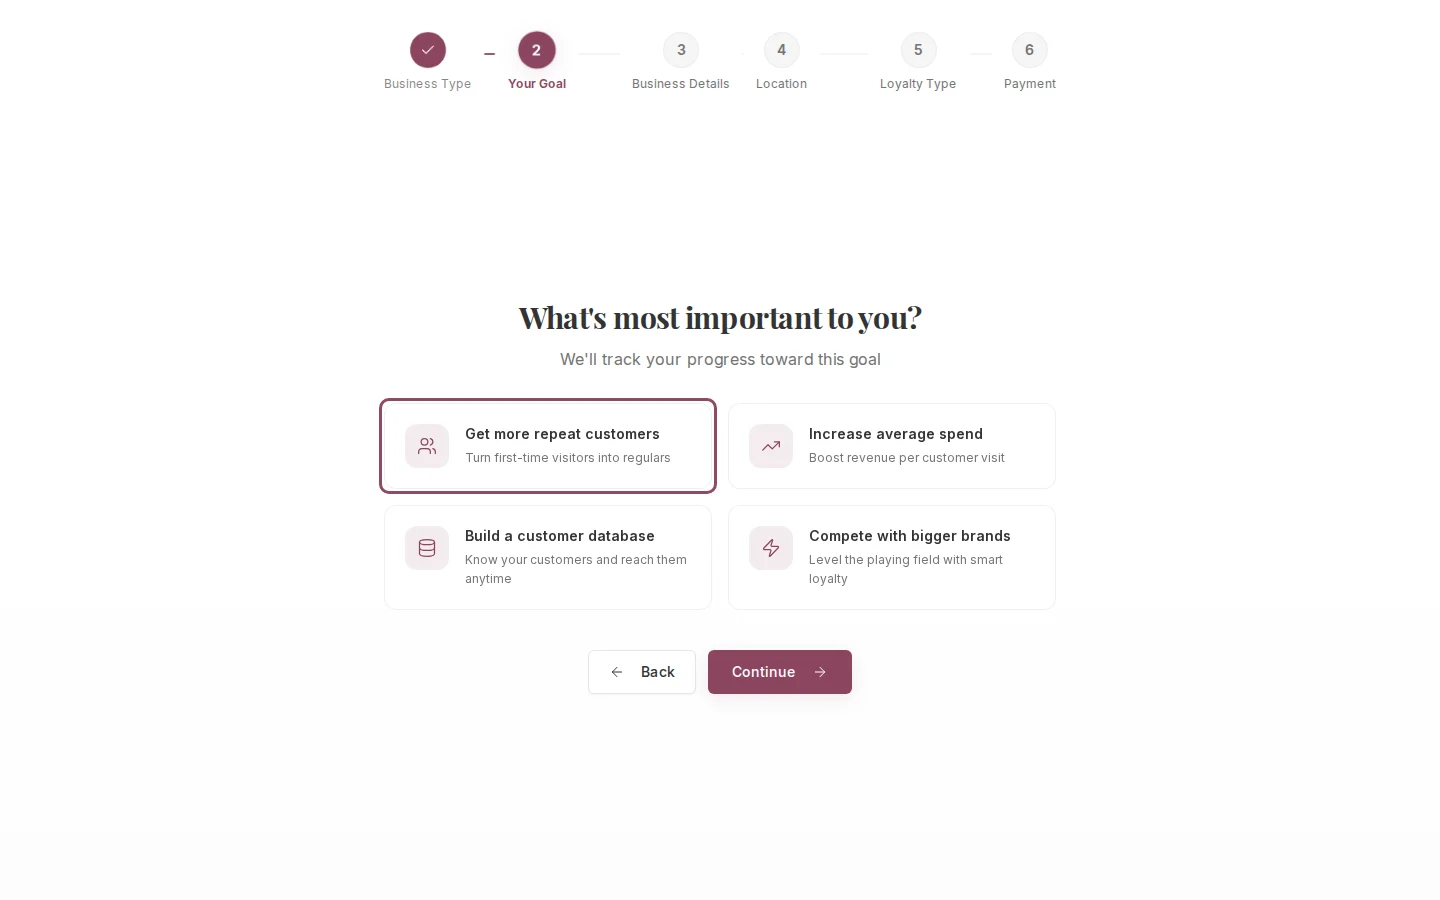
 Pick the one goal most relevant to you right now.
* **Get more repeat customers.** Track visits and reward customers who come back regularly.
* **Increase average spend.** Boost revenue per visit through tiered rewards.
* **Build a customer database.** Collect member contacts so you can reach them with campaigns.
* **Compete with bigger brands.** Run the same kind of loyalty program large chains use.
This choice is for personalization only. You can focus on all of these over time.
Pick the one goal most relevant to you right now.
* **Get more repeat customers.** Track visits and reward customers who come back regularly.
* **Increase average spend.** Boost revenue per visit through tiered rewards.
* **Build a customer database.** Collect member contacts so you can reach them with campaigns.
* **Compete with bigger brands.** Run the same kind of loyalty program large chains use.
This choice is for personalization only. You can focus on all of these over time.
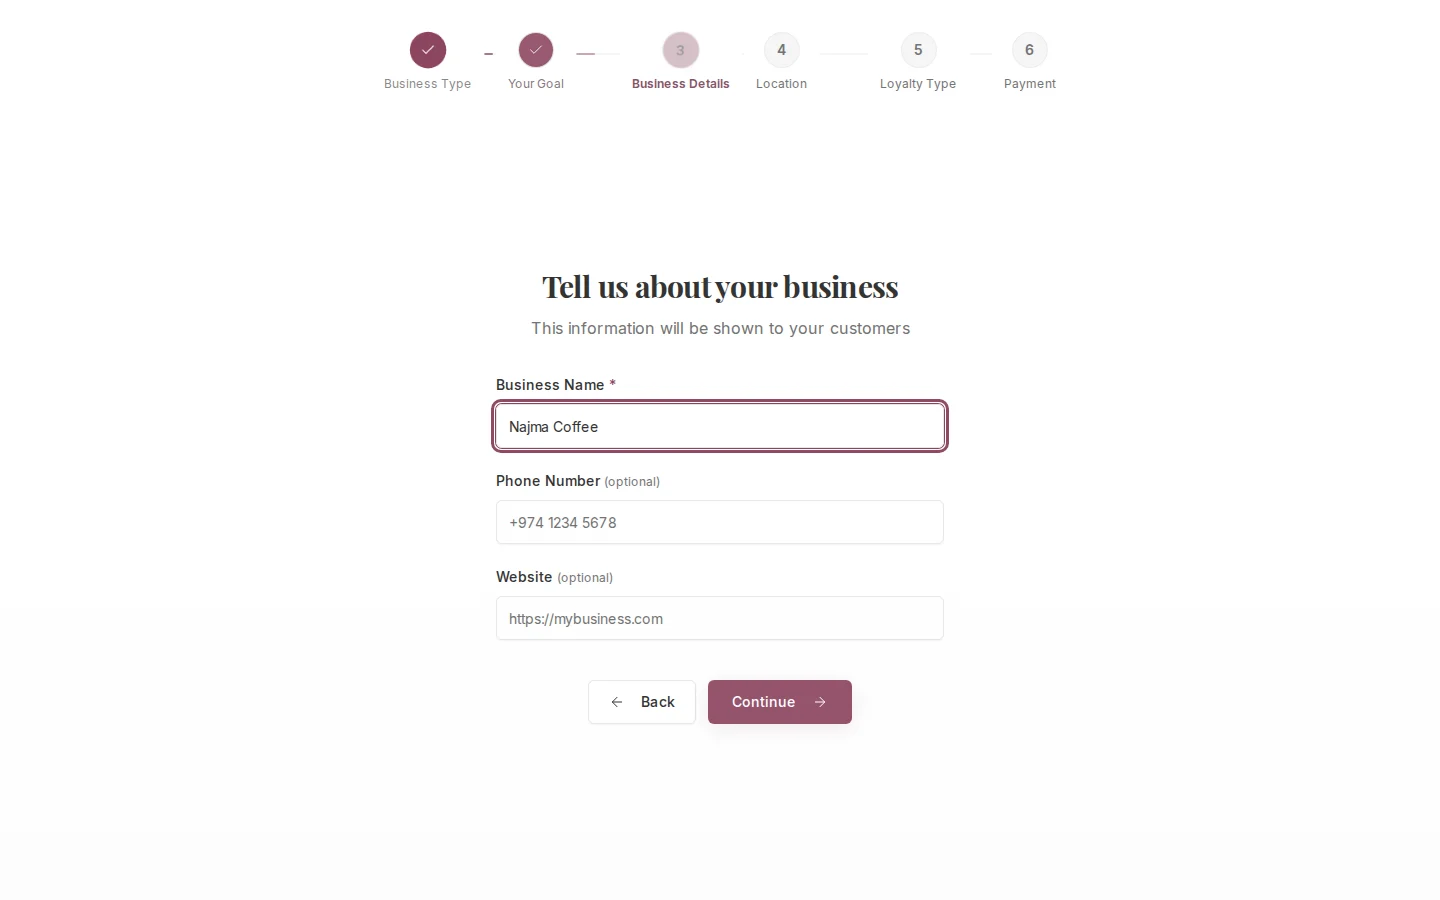
 Enter your **Business Name** (required), phone number, and website. The business name appears on your loyalty cards and QR codes, so use the name your customers already recognize.
The website field requires a full URL including `https://`. Leave it blank if you don't have one.
Enter your **Business Name** (required), phone number, and website. The business name appears on your loyalty cards and QR codes, so use the name your customers already recognize.
The website field requires a full URL including `https://`. Leave it blank if you don't have one.
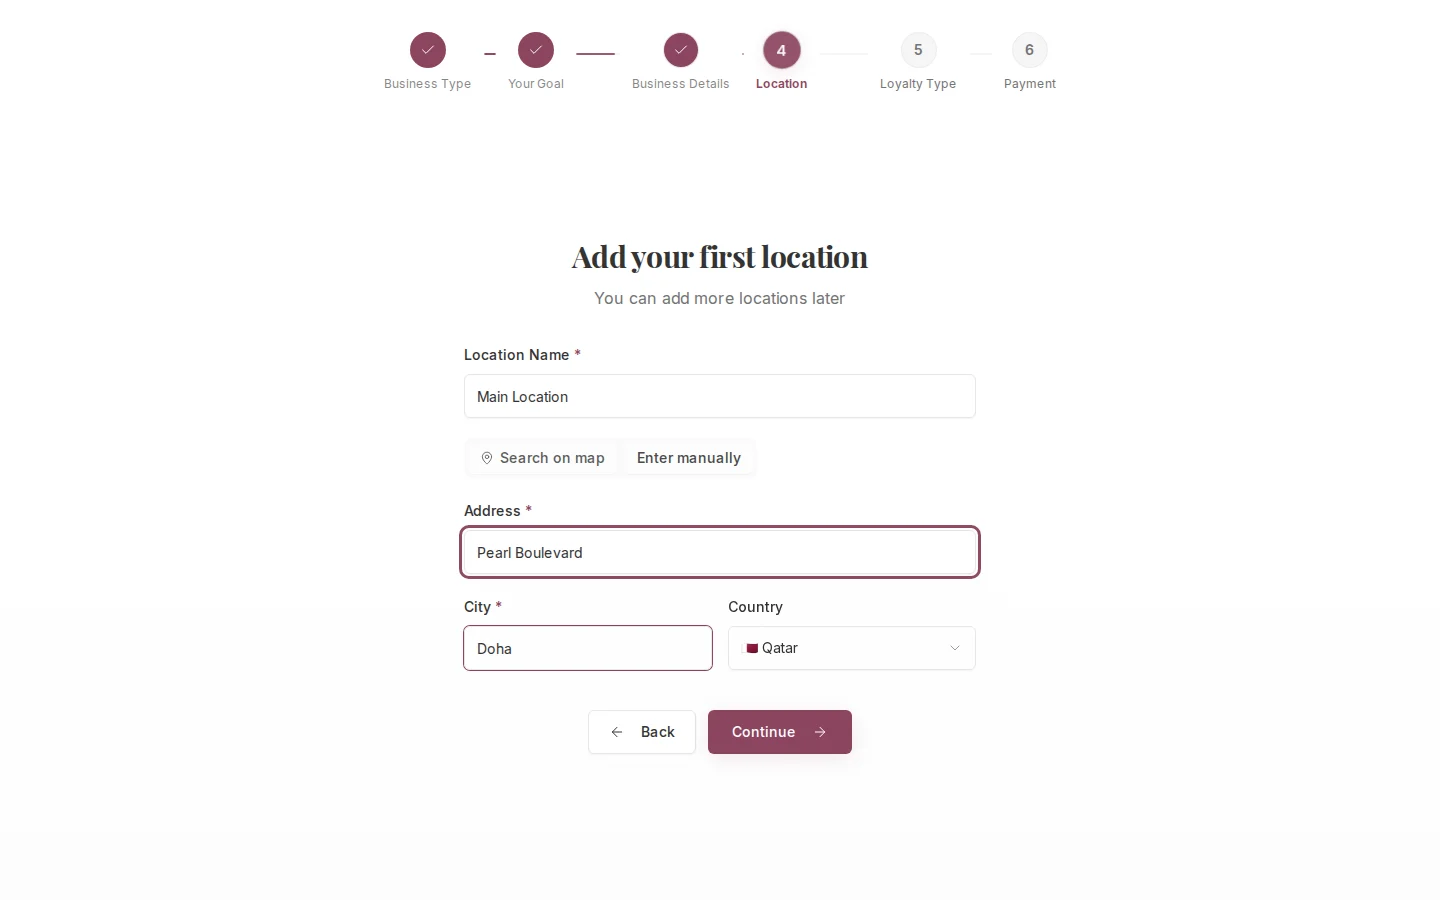
 Set up your first physical branch. You can add more locations later from **Settings**.
The **Location Name** is internal. It shows in your dashboard reports but customers don't see it. Something like "Main Branch" or "West Bay" works fine.
For the address, click **Search on map** to find your location using Google Maps. It fills in the address fields automatically. Or click **Enter manually** and type the address, city, and country yourself.
The country defaults to Qatar. If your business is based elsewhere in the region, change it here before continuing.
Set up your first physical branch. You can add more locations later from **Settings**.
The **Location Name** is internal. It shows in your dashboard reports but customers don't see it. Something like "Main Branch" or "West Bay" works fine.
For the address, click **Search on map** to find your location using Google Maps. It fills in the address fields automatically. Or click **Enter manually** and type the address, city, and country yourself.
The country defaults to Qatar. If your business is based elsewhere in the region, change it here before continuing.
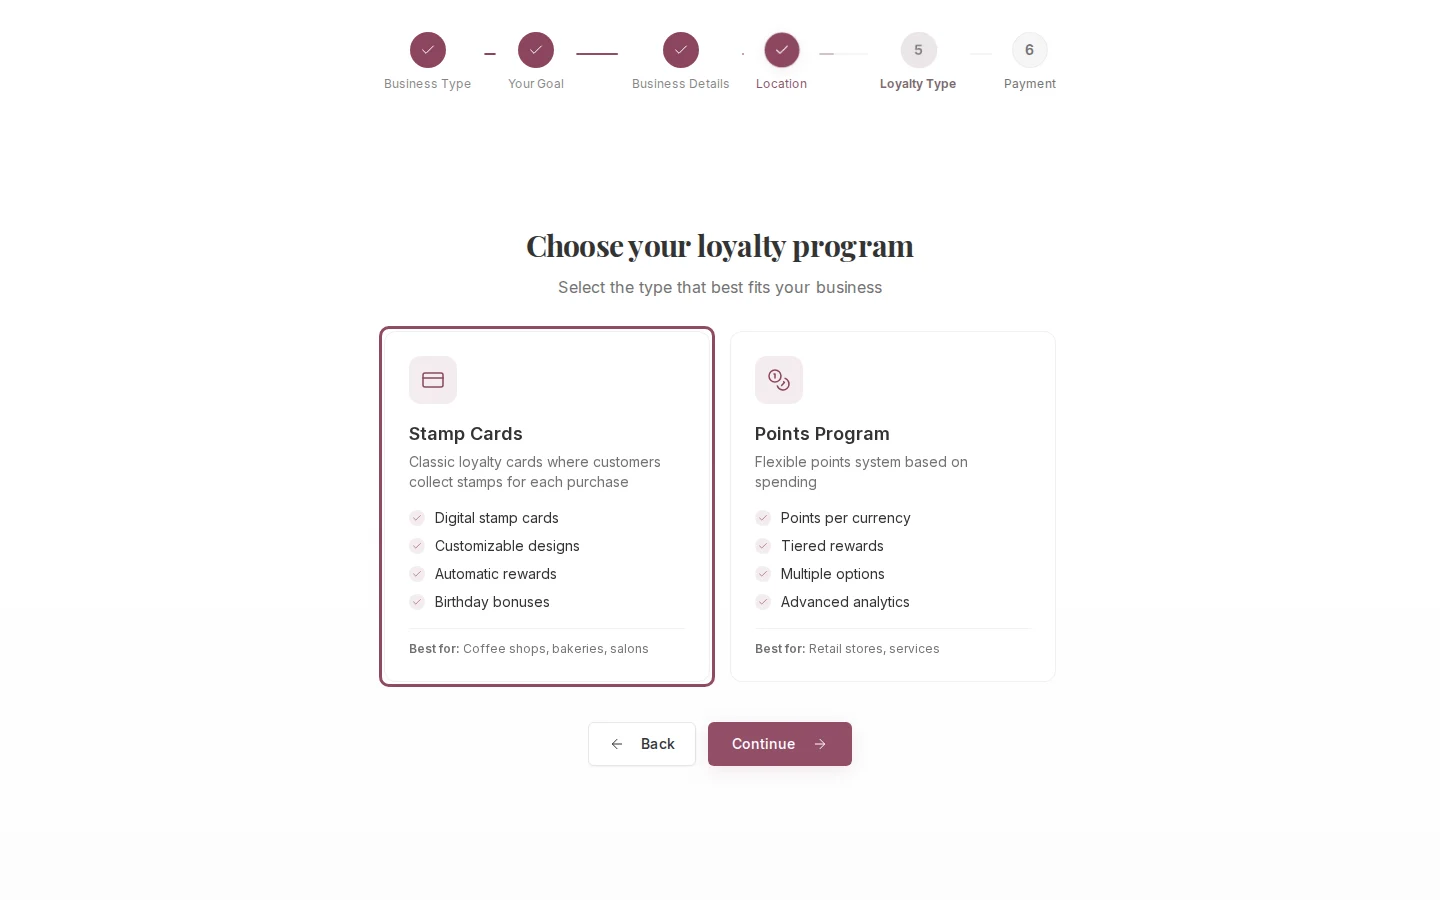
 Pick the loyalty program type for your business. This choice affects how customers earn and redeem rewards across your entire account.
**Stamp Cards** give customers one stamp per visit. When they reach your stamp goal, they earn a reward. This works well for cafes, salons, and businesses where customers make similar purchases each time.
**Points Programs** give customers points based on how much they spend. You set the earning rate and what each reward costs. This works well for retail and services where purchase amounts vary visit to visit.
You cannot switch loyalty program types after completing onboarding. If you need to change later, contact Qtap support.
Pick the loyalty program type for your business. This choice affects how customers earn and redeem rewards across your entire account.
**Stamp Cards** give customers one stamp per visit. When they reach your stamp goal, they earn a reward. This works well for cafes, salons, and businesses where customers make similar purchases each time.
**Points Programs** give customers points based on how much they spend. You set the earning rate and what each reward costs. This works well for retail and services where purchase amounts vary visit to visit.
You cannot switch loyalty program types after completing onboarding. If you need to change later, contact Qtap support.
 Add a card to activate your 14-day free trial. Your card is not charged today.
After 14 days, your subscription starts automatically at \$49/month on the Growth plan. You can cancel any time before that from **Settings**.
Card details are handled by Stripe. Qtap never stores your card number.
Click **Complete Setup** to confirm and finish the wizard.
Your account is ready. Qtap creates your organization profile, registers your first location, and starts your trial subscription.
A button appears to create your first stamp card (if you chose stamps) or your first points program (if you chose points). Click it to go straight to the setup wizard for your loyalty program.
Set up your first stamp card: design, stamp goal, and reward.
Configure your points program: earning rate and rewards.
Add a card to activate your 14-day free trial. Your card is not charged today.
After 14 days, your subscription starts automatically at \$49/month on the Growth plan. You can cancel any time before that from **Settings**.
Card details are handled by Stripe. Qtap never stores your card number.
Click **Complete Setup** to confirm and finish the wizard.
Your account is ready. Qtap creates your organization profile, registers your first location, and starts your trial subscription.
A button appears to create your first stamp card (if you chose stamps) or your first points program (if you chose points). Click it to go straight to the setup wizard for your loyalty program.
Set up your first stamp card: design, stamp goal, and reward.
Configure your points program: earning rate and rewards.