Open the editor
The editor is owner-only. Managers and staff see an access-denied screen, even with other dashboard permissions.
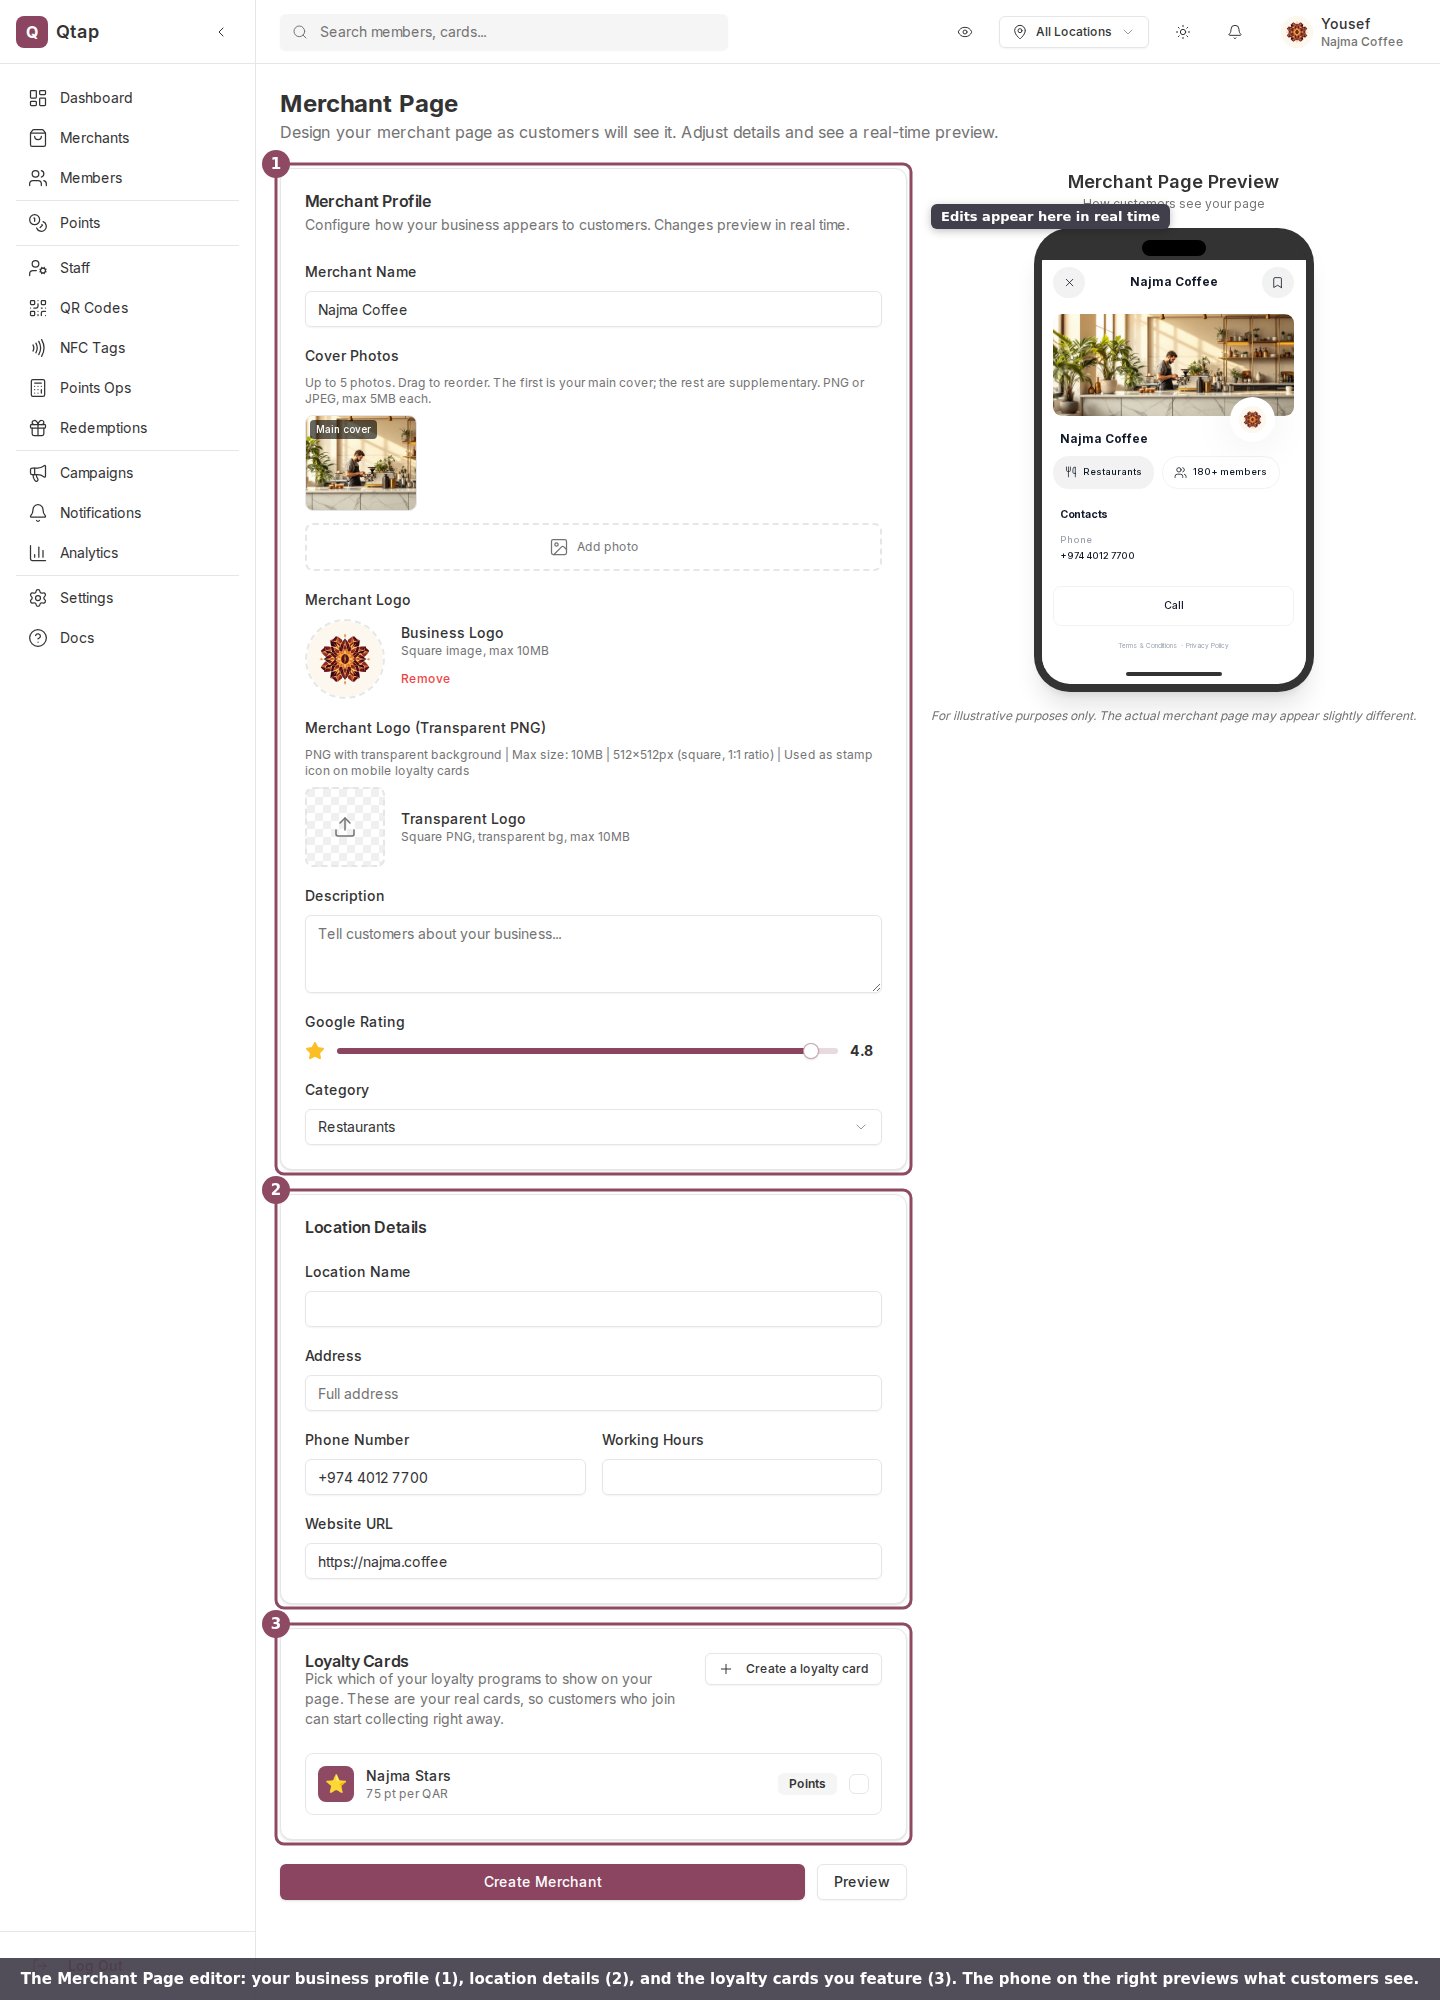
Your business profile
The Merchant Profile section sets how your business appears at the top of the page.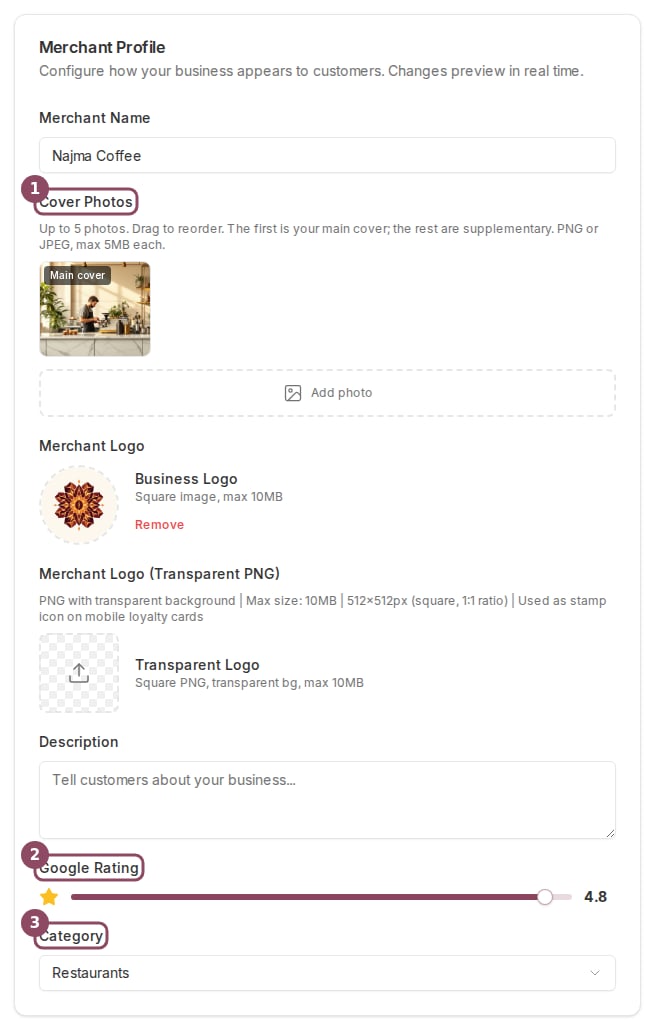
- Merchant Name is your business name as customers read it.
- Cover Photos: add up to five, in PNG or JPEG, each under 5MB. Drag to reorder. The first one is your main cover and the rest are supplementary.
- Merchant Logo: a square image, PNG or JPEG, up to 10MB.
- Merchant Logo (Transparent PNG): a square transparent PNG at 512 by 512 pixels, up to 10MB. Qtap uses it as the stamp icon on mobile loyalty cards.
- Description is a short line about your business.
- Google Rating is a slider from 0 to 5. You set this number by hand. It does not read from Google, so keep it honest and update it yourself.
- Category is one of eight: Restaurants, Cafes, Retail, Beauty, Health, Services, Entertainment, or Other.
Location details
The Location Details section holds the practical information customers need to find and reach you: Location Name, Address, Phone Number, Working Hours, and Website URL. Working Hours is a free text field, so you can write it however suits your business.The loyalty cards you feature
The Loyalty Cards section picks which of your published programs show on the page. These are your real cards, so a customer who joins from the page starts collecting straight away.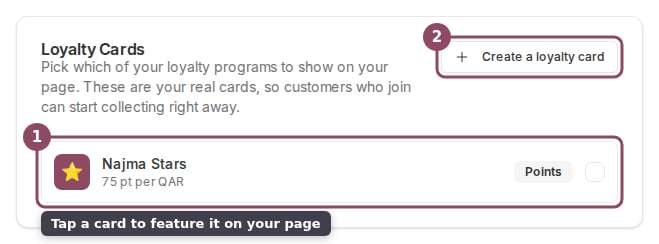
Save, preview, and reset
The buttons at the bottom act on the whole page.
- Create Merchant saves your page for the first time. After that the same button reads Update Merchant and saves your changes.
- Preview opens your page in a new browser tab, exactly as customers see it, using your current edits. You do not have to save first, so it is a safe way to check the page before you publish.
- Delete appears once you have a page. It resets the page back to empty by clearing the cover photo, logo, and merchant page settings.
Merchant Page settings
Update the business name, logo, hours, and contact details Qtap stores.
Create a stamp card
Build a loyalty card you can feature on your page.