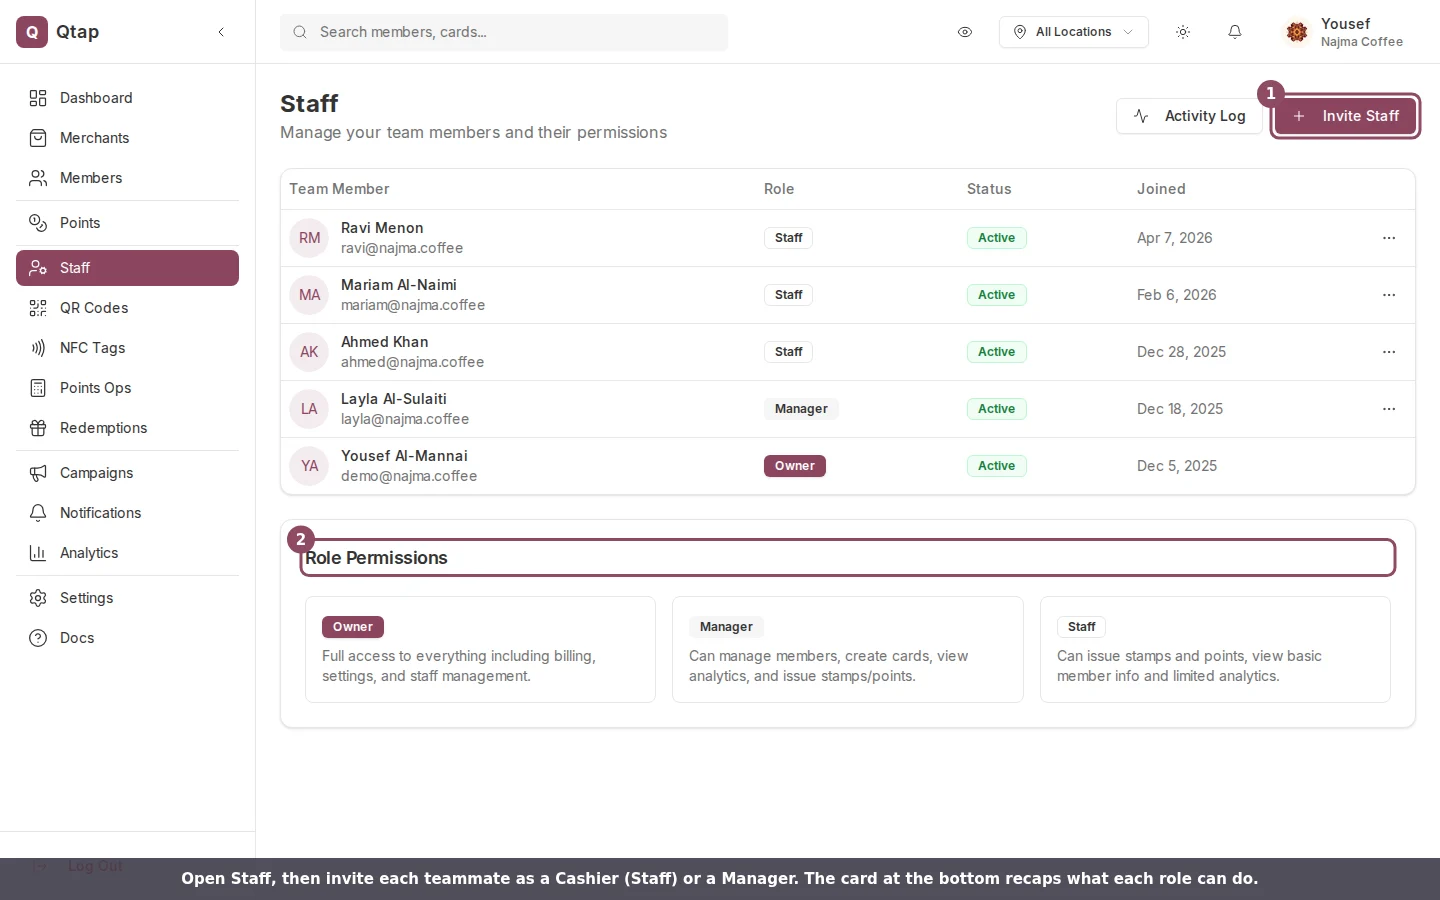
The Staff page. Invite a teammate, then pick Cashier (Staff) or Manager.
The cashier setup
Use the Staff role for anyone working the counter. It is the default when you invite someone, so you can leave the Role field as it is.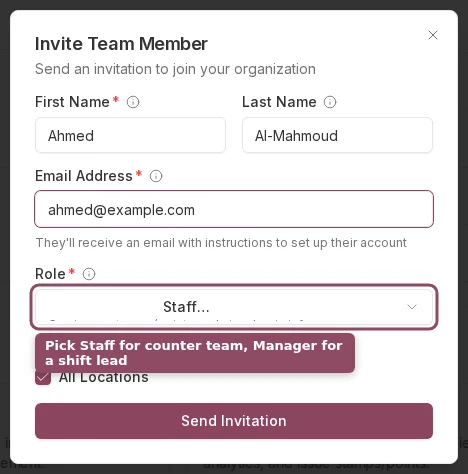
On the invite form, Staff is already selected.
The manager setup
Use the Manager role for an assistant manager or shift lead who keeps the day running. Open the Role list to see the difference between the two roles spelled out.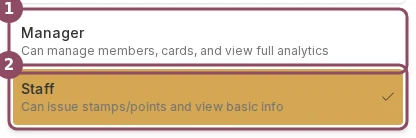
The Role list. Manager runs the day; Staff handles the counter.
What each role can do
When the defaults don’t fit
If a teammate needs a different mix, override their permissions one at a time.1
Open the staff member's menu
On the Staff page, click the menu icon at the end of their row, then choose Edit Permissions.
2
Turn on custom permissions
Switch on Use Custom Permissions. The checklist below it unlocks, grouped into Members, Loyalty, Cards & Programs, QR & NFC, Analytics, and Notifications.
3
Pick what they can do
Check or uncheck each item. For a senior cashier, start from the Staff role and add Send notifications so they can message members.
4
Save
Click Save Changes. The new access applies the next time they load the dashboard.
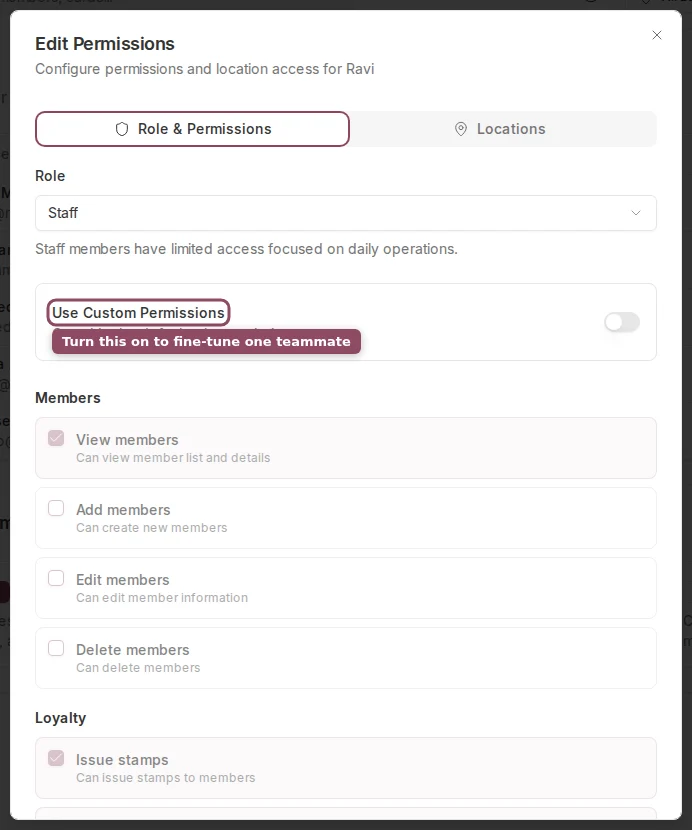
Turn on Use Custom Permissions to fine-tune one teammate.
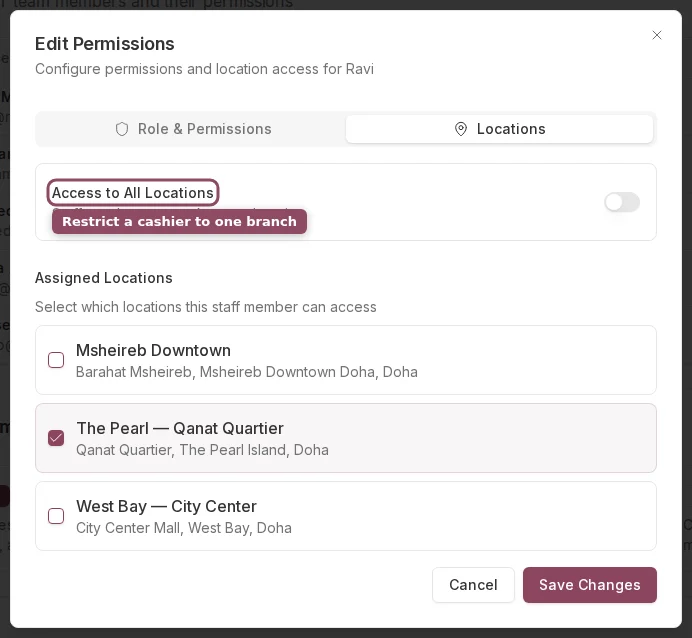
The Locations tab restricts a cashier to chosen branches.
Changing someone’s role resets their access to that role’s defaults, unless Use Custom Permissions is on. Set custom permissions after you pick the role, not before.
Roles and Permissions
The full reference for every role and permission.
Staff Overview
Inviting teammates and managing the team list.