What you’ll do first
When you sign up, a Getting Started checklist appears at the top of the dashboard. It shows your progress through five setup tasks:- Create your first stamp card or points program
- Generate a QR code
- Invite a staff member
- Add your first member
- Create a campaign
If your account is on a trial, each checklist task shows a bonus day reward you can claim after completing it. Click Claim +Xd next to a completed task to add those days to your trial. Rewards do not claim themselves — you have to click the button.
How the dashboard is organized
The left sidebar gives you access to everything:- Stamp Cards or Points — where you create and manage your loyalty program
- QR Codes — generate and manage the scannable codes your customers use to earn stamps or points
- Campaigns — automated messages triggered by customer behavior
- Members — the list of everyone enrolled in your program
- Analytics — data on stamps, points, redemptions, and member activity
- Staff — invite and manage the people who work in your locations
- Settings — billing, locations, notifications, and your merchant page
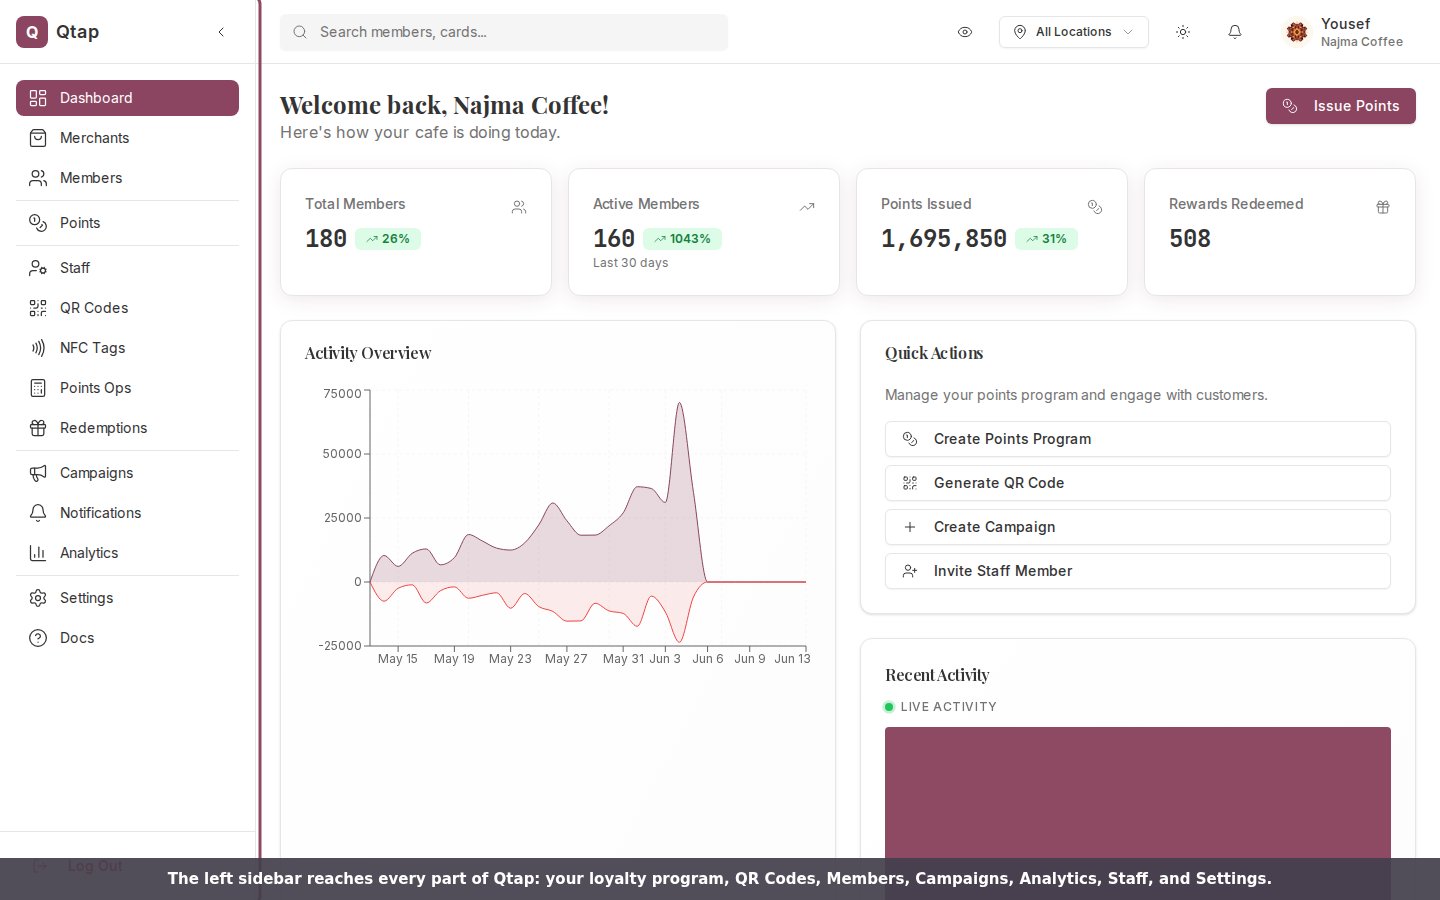
The left sidebar reaches every section of the dashboard.
Stamp cards vs. points programs
When you sign up, you choose between two loyalty types. Each works differently: Stamp cards give customers one stamp per visit (or transaction). When they hit your stamp goal, they earn a reward. Simple, visual, and familiar to most customers. Points programs assign a points value to purchases. Customers accumulate points and redeem them for rewards. Better for businesses where customers spend different amounts each visit.Your dashboard shows different options depending on which loyalty type you chose. If you see “Stamp Cards” in the sidebar, you’re on the stamps program. If you see “Points,” you’re on the points program.

A points program: the sidebar shows Points and Points Ops.
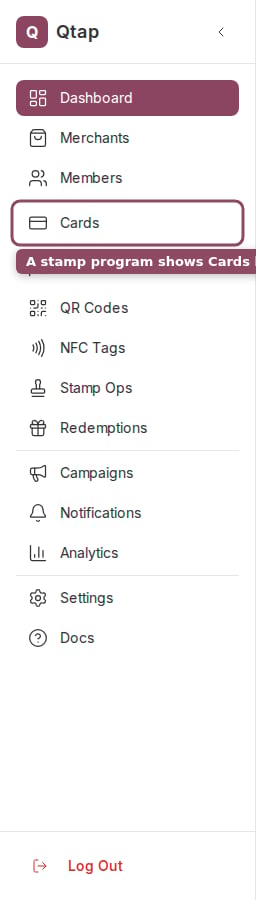
A stamp program: the same spot shows Cards and Stamp Ops instead.
Dashboard Overview
Learn what each section of the main dashboard shows you.
Your First Loyalty Program
Create your first stamp card or points program step by step.